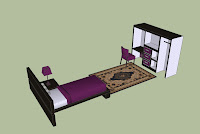
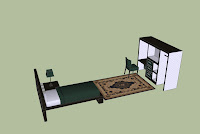
Since we got the right scale of building and also some new furniture from Google Warehouse, the next tasks for me are to decide on the placement of furniture and texturing them. To make it easy for exporting, I have scaled the furniture down and grouped them inside SketchUp, according to different spaces of the building. These were quite time-consuming as it contains various steps which I have mentioned before (http://wirada-arch1392.blogspot.com/2009/04/material-solution.html).
Scaling & Texturing & Grouping
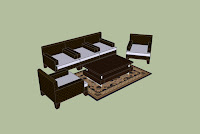
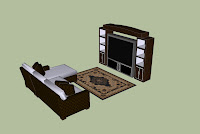
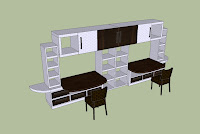
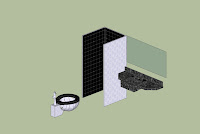
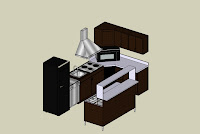
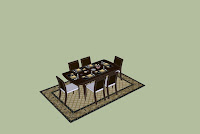
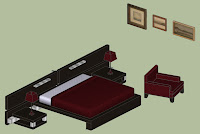
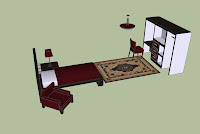
TRICKS
The problem from this task was that the SketchUp’s standard colour (e.g. red, gray, black, etc.) did not show up on the model when exporting to Crysis, whereas materials such as stone and wood are fine. So I have played around with the setting in SketchUp, and discovered a useful trick.
Exporting a Model with SketchUp’s COLOUR materials
1. Create white texture – Power of 2 (e.g. 64 x 64, 128 x 128, 512 x 512, etc.)
2. Chose any colours in SketchUp and apply to the model
3. Go to “In Model” (It will show any texture applied on the model)
4. Double click on material or click on Create Material… button
On the Edit tab, adjust the colour by choosing an appropriate picker and texture size as you want
***As you can see, there is no .jpg file on texture image section.
5. Click Browse and find white texture (White texture will appear on the model.)
6. Redo the colour setting again (or type the HSL number again)
7. After exporting the model, the colour should appear on the image folder.


